Several folks have been asking me this: how complex is it to get a virtual background when using Rainbow, just like when using Zoom?
Turns out, it’s not all that hard.
You basically have two options:
- You can go down the professional road and film yourself with a green background. There are some great offerings and the best reviewed one by many semi-famous people is the Elgato collpasible chroma key panel. If you are unfamiliar with the concept, this is what chroma keying is: compositing yourself over a background that will replace all areas sporting the same shade of green,
- Or you can use one of ’em newfangled fancy neural networks that will remove the actual background and substitute one of your choosing through educated guesses. As you can imagine, this mostly works. Depending on the software being used, you will get vastly different results. I also don’t imagine you want to run the video signal through your own Python scripts so I am going to talk about turnkey software.
This is going to be pretty straightforward:
First, you will need to install the software that will perform the background substitution. I would recommend XSplit VCam for Windows. If you are running MacOS, you may have to splurge for the more expensive manycam
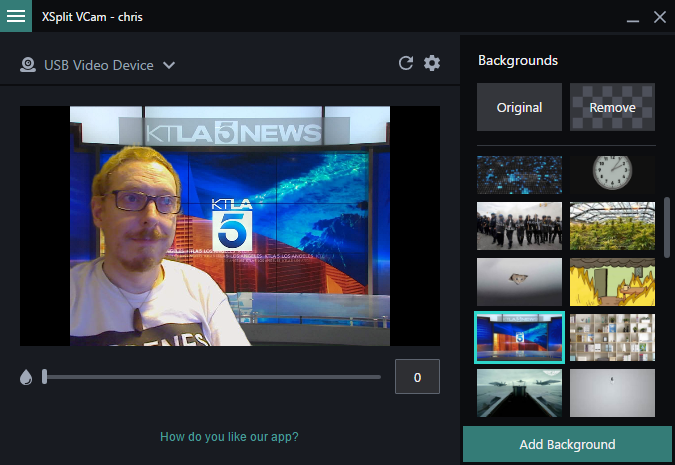
Notice the very simple user interface, allowing you to select the source camera and a series of backgrounds. You can even decide to completely delete the background or create a blur effect.
If you click the gear icon, as expected, you will access the settings. Here are the ones I am using (pretty much close to default):
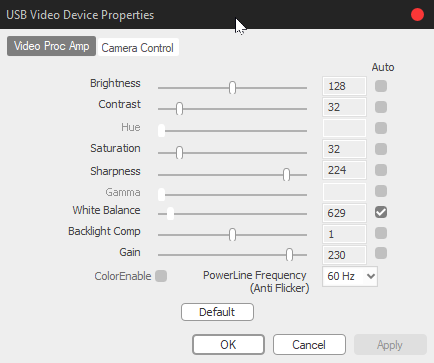
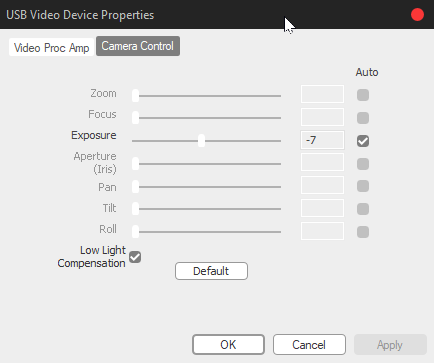
Important: running this software takes your physical camera as its source, and creates a new logical camera that other software will be expected to use as its source.
If all you are trying to achieve is replacing your background, you can stop reading here!
If you also wish to add a bit of video production flair, then keep reading :)
Regardless of which compositing software you are using, you are going to need a small “production studio” – a very approachable one (and it’s free!) is OBS Studio which runs on all platforms.
Yes, its user interface will take a little bit of time getting used to if you’ve never created videos or live streamed. But you do not need to learn how to use all of it!
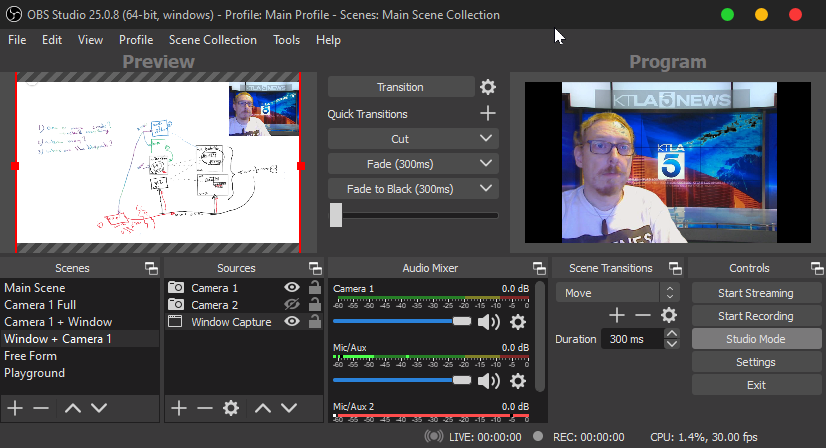
Basically, you are going to be able to switch between scenes; the Preview pane shows what will start streaming in the Program pane when you switch scenes.
A scene is a composition of one or more sources, in various order and using a specific, flexible layout.
Note that selecting a scene only updates the Preview pane; you will need to either double-click the scene name or use the Fader bar (under the main buttons) to make this your viewers’ reality.
In the example below, the Program (active) scene is a full picture of my confused mug pretending to be a new anchor, and the Preview scene shows me being relegated to a corner while I am sketching something in a white board application:
When editing a “camera” data source (data sources are shared by all the scenes), select the “XSplit VCam” source. This is the logical camera that was created in the previous step:
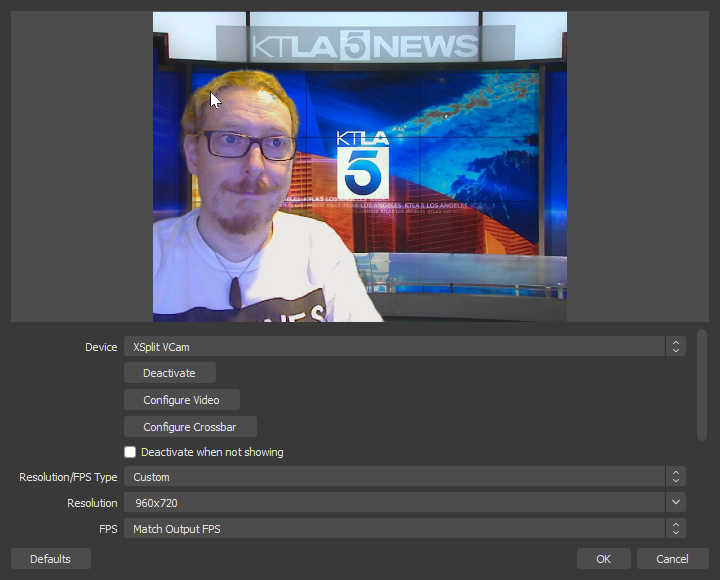
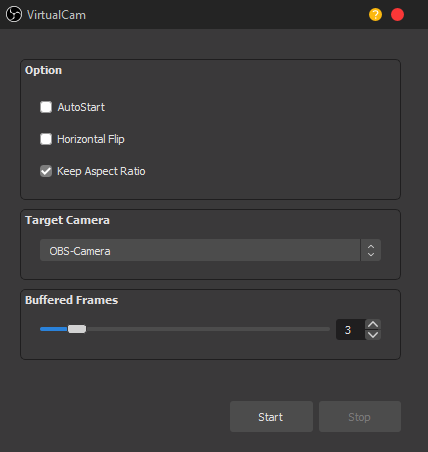
Finally, in the top-level menu, select Tools > VirtualCam (this is a plugin you need to install alongside the OBS software) and click the [Start] button.
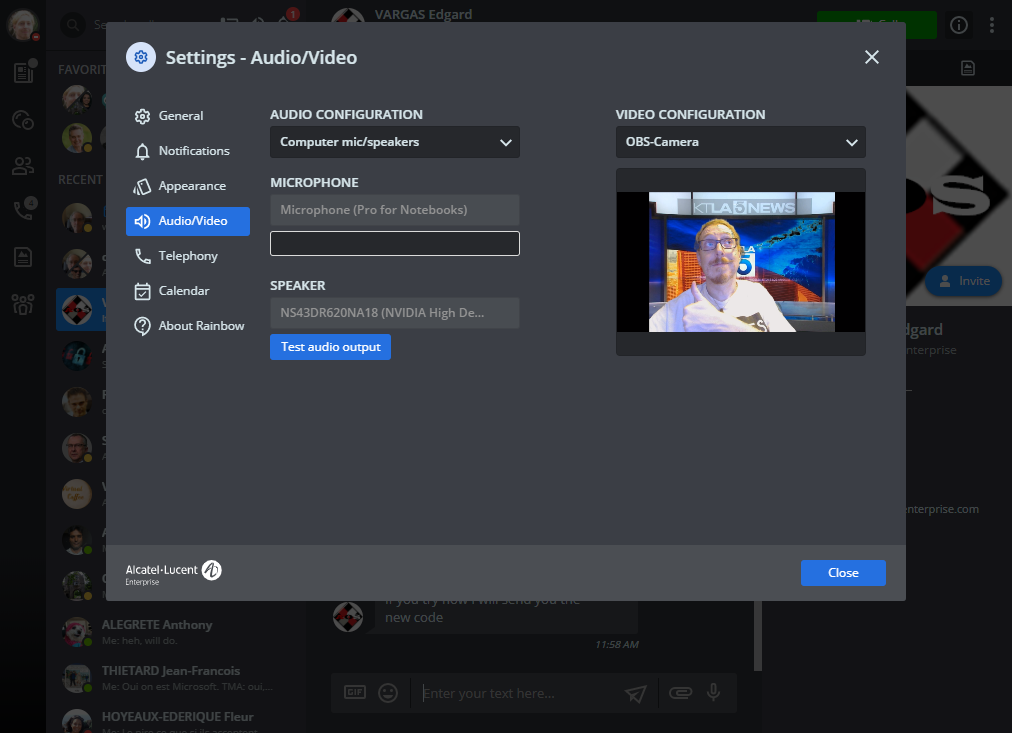
In Rainbow’s user interface, select this newly created ‘OBS-Camera’ logical camera. You are now ready to annoy your coworkers with your video antics:
Comments powered by Talkyard.